Learning to Sew
Miss Em is currently working on two projects as part of our Project-Based Homeschooling approach to learning this year. Her first project is learning to sew using a sewing machine. She picked out a pattern for a pillow, which she has modified somewhat to turn it into her own creation. We had just started cutting out the fabric and sewing the larger seams when October came and she decided to work on her Halloween costume first.
She is going as a wolf this year. But not just an ordinary wolf. This is “Viper”, one of her own character creations. We are using the same pattern we used last year for her “Dragonflight” (another of her characters; a cat) costume. We could have just modified it to turn it into Viper, but she wanted to keep the Dragonflight one, so I told her she would need to make the costume (with my help, of course).
This past week we bought the fabric, lay it out and pinned the pattern pieces, and cut out the bits for the bodysuit. We finished up our session by having her sew the sleeves to the main body pieces.
I love that she is learning to sew, since I am becoming a big fan myself (having been quilting for over a year now). I think with her artistic talents she will find it helpful to be able to express herself through the medium of fabric. She has even offered to help me design a quilt!
Computer Programming with Scratch
Today was the first day of Mr Boo’s new project (for more information about Project Based Homeschooling see this blog). He has chosen to create a video game using the program Scratch. He has used it before, but not much, and he wanted my help in creating a proper game. This turned out to be a great project – I didn’t realize what a wide variety of learning would be involved.
He started by importing a generic background image from Minecraft. He chose a crab to be his first character (or “sprite”, as they are called). Eventually he added another sprite, coloured the “ground”, and added an obstacle (the brown block). Here’s a screen shot showing where he left off today:
But first, he started with just the red crab and the background (the pink bar was originally white). He attempted to program the sprite to move right or left with the right or left arrow keys, respectively. However, he ran into trouble when he could not get the sprite to change direction – it just rotated about its axis instead.
I suggested we watch a tutorial and Mr. Boo searched YouTube. He chose this one by MrMattperrault that shows how to make a sprite jump more realistically by incorporating gravity and velocity changes into the motion of jumping and falling.
At the beginning of the video the narrator reviews how to make the character move left and right. By looking at the scripts Mr. Boo learned where he had gone wrong: to change direction left or right you need to set x to positive or negative numbers (the magnitude of the number is how many steps the character takes when the key is pressed). He also saw that to get a character to jump (and thus fall back down rather than just moving up higher) he needed to set y to positive and negative numbers (with a slight delay in between).
The main topic of the video was how to get a character to jump realistically – in other words, incorporating acceleration due to gravity. Mr Boo immediately wanted to try this, and so he copied the scripts from the video. Not only did he get a lesson in physics about why things bounce, but he was introduced to the concept of velocity and how that relates to gravity for the sake of programming movement. And, he was also introduced to the concept of conditional phrases: “if/then”. Finally, he learned that multiplying anything by -1 changes it’s sign (and thus, in this case, the direction of motion). Here is a script that causes the character to drop onto the ground:
Basically this says if the character is touching the colour blue (which was the ground in the video demo) then it needs to stop moving, and if it isn’t touching blue (the ground) it needs to fall. Mr Boo programmed his sprite according to these directions and, at first, the character wouldn’t move. With some assistance from me, we figured out the problem. There was a white rectangle along the bottom of the background, and we’d programmed the sprite to stop falling when it touched white. However, there is also white in the sky so that’s why the character wasn’t moving. When Mr Boo changed the ground to pink it worked.
Before wrapping up for today he added a second character and a block to jump over. He’ll program them next Project Time.
Animated clips for a movie
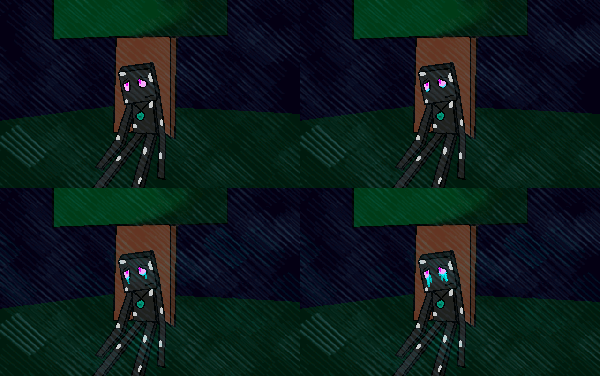
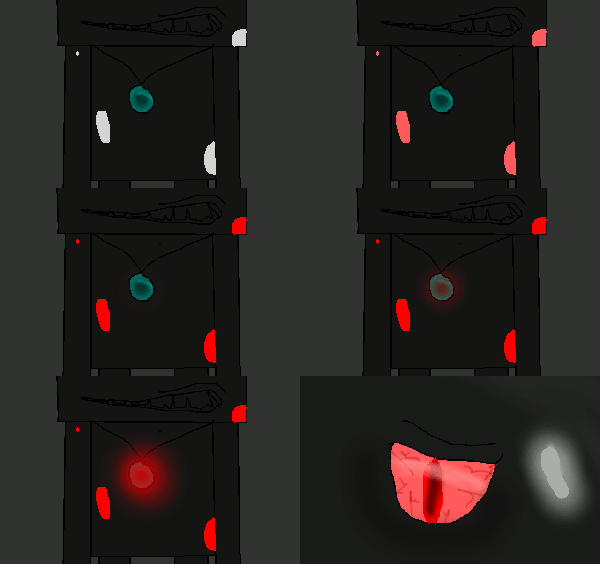
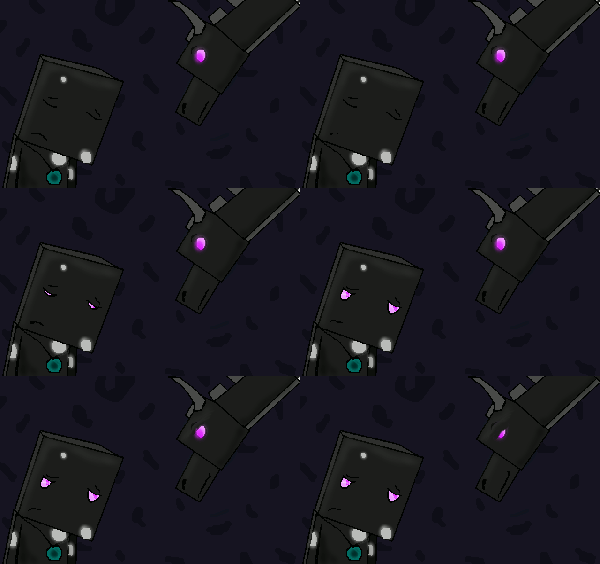
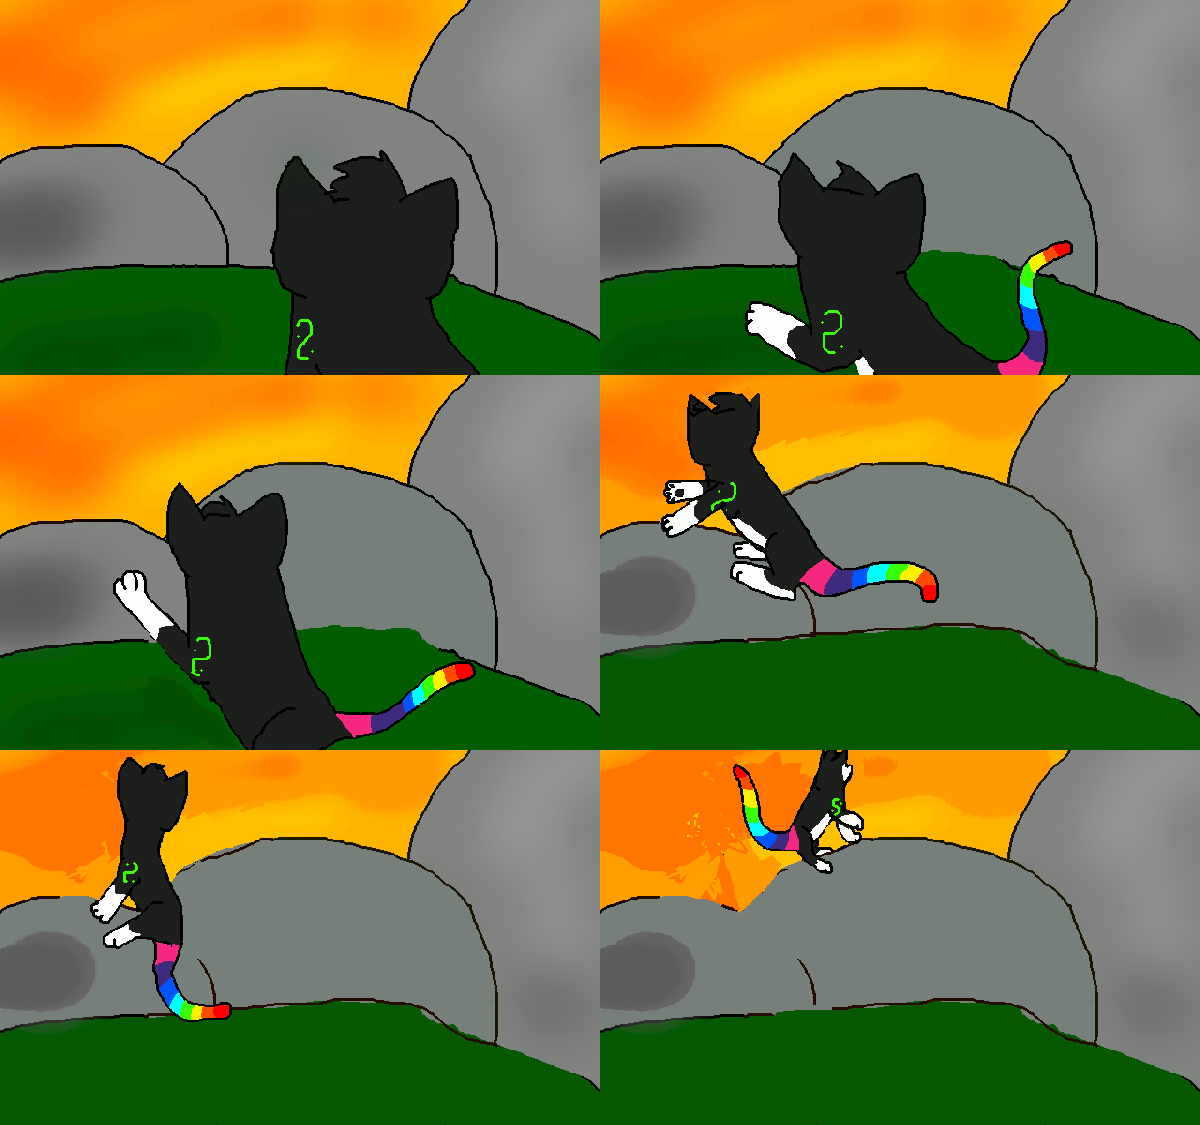
Miss Em is working on an animated movie and has been putting together clips she can use. Here are some of her latest clips. The captions denote what the characters are saying or what is going on in that scene. You may have to click on the images to get them to play.
Dragonflight…in flight!
Emily’s latest rendering of Dragonflight. His secret power is the ability to sprout wings and fly. I’m constantly blown away by her talent. Here, his body is somewhat twisted and she has all the proportions and perspectives correct.
Dragonflight in Motion
Here is Emily’s latest animated creation. She draws each frame and then puts them together in such a way so that they flow smoothly as possible. She was very proud of this as it was the first one where she changed the perspective of the character (i.e. the character moves into the background, giving it a 3D effect).
Note: you may have to click on the image to get it to play
Portrait of Max
Emily hasn’t done this in a while, but the other day she was inspired to draw an image of her beloved cat, Max, as he sat on the back of the sofa looking out the window, half asleep. She was very proud of her drawing. I can see why! At first I wondered at the ring around his eye, but he does in fact have a dark stripe that looks exactly like that (he’s a brown tabby).
Science Friday: Making Crystals
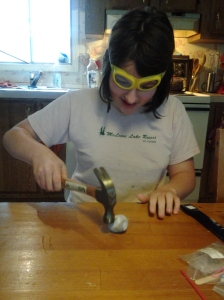
Our Young Scientists’ Club subscription has been really fun so far. This week we worked on the Crystals kit. Emily started by attempting to break a geode. She wore her safety goggles but that thing just wouldn’t break…
Finally we took it outside and she placed it on some concrete. Then she was able to break it. She was a bit disappointed that it had no colour inside, but it was still pretty.
Was hoping for this:
But got this:
Next we had to make some recipes for crystal solutions. These were put into jars. She tied paper clips to string and attached them to popsicle sticks to suspend them in the solutions. We are still waiting on our crystals to fully form, but she did enjoy a small taste of “rock candy” today!
Here are some shots of her work:

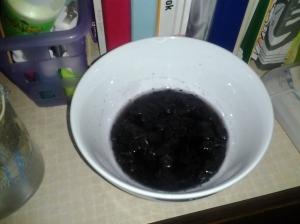
Crystal solutions. Rock Candy (with food colouring), aka sugar crystals, on the left. Salt crystals on the right.
Math Updates
Sasha is making good progress with our online math curriculum. He grasps new concepts quickly, and despite his protestations when it’s time to do the work, he applies himself well. He has completed four of the five sections of the Grade 1 curriculum. The last is Addition and Subtraction which he has just begun. He is also well into Grade 2’s first section, Comparisons and Ordering. He has already completed the Grade 2 problem solving section. I’m very pleased with his progress.
Here are some of the lessons he has recently completed:
In this lesson, he uses “Snap Blocks” to visualize numbers on either side of the equation. It allows him to determine whether, in fact, the equation is true and each side is the same value. The snap blocks can be dragged to their respective colour bar so he can compare the numbers side by side according to length.
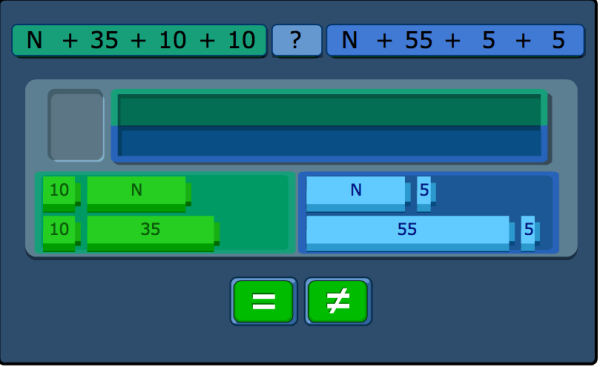
In this next exercise, the object is the same but they have introduced the algebraic concept of “N”, some unknown number that is represented by a letter.
Finally, he completed the Grade 1 Place Value section. Dreambox uses an interesting visual method for teaching place value: packing items into boxes. For Grade 1 they are working on Tens and Ones. The student can use the packing tool to determine how many ones are left over when a given number of boxes (of ten items) are packed.
Minecraft meets Warrior Cats
I love this picture. She combines two of her favorite themes: Minecraft and Warrior Cats. The cats are dressed/coloured as (from left to right): a Creeper, Steve, and an Enderman. She was very proud of this work and pleased with how it turned out.
Latest Artwork: “We Will Survive”
Emily sent me this by email. She wrote: “This took forever. At least three hours.”


